Cleaning dental implants comes down to three habits: brush twice daily with a soft or oscillating-rotating powered toothbrush, clean between implants once a day with an interdental aid or water flosser, and keep every professional maintenance visit on the calendar. Skip any one of these and plaque builds up on the implant surface the same way it does on a natural tooth, except implants have no periodontal ligament to buffer the damage.
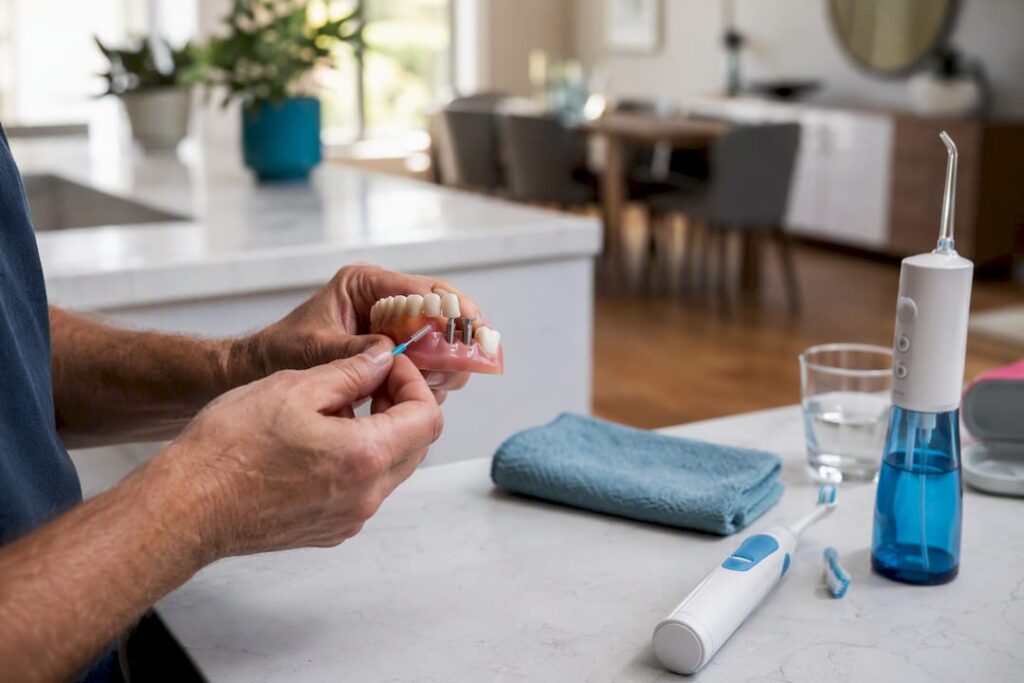
Here’s the minimal kit worth owning:
- An oscillating-rotating powered toothbrush
- Interproximal (interdental) brushes sized to fit your specific gaps
- An oral irrigator, also called a water flosser, for flushing debris from under bridges and around abutments
Call your dentist promptly if you notice bleeding that won’t stop, an implant that feels loose, or pain that lingers more than a day or two. Those symptoms don’t resolve on their own, and waiting rarely helps.
Key Takeaways
Cleaning dental implants successfully requires twice-daily brushing with a powered toothbrush, daily interdental cleaning, cautious rinse use, and professional maintenance on a risk-based schedule.
| Point | Details |
|---|---|
| Brush twice daily | Use a soft-bristle or oscillating-rotating powered brush for two minutes, morning and night. |
| Clean between implants daily | Reach for an interproximal brush sized to your gaps, or a water flosser if space is tight. |
| Limit chlorhexidine use | Use it only for the short window your dentist recommends; ask about stannous-fluoride rinses for daily use. |
| Match recall to risk | Higher-risk patients often need professional visits at intervals shorter than the standard six-month cycle, with timing customized to individual risk factors. |
| Watch for red flags | Persistent bleeding, looseness, pus, or lingering pain mean call your dentist, not wait it out. |
Table of Contents
- Why Cleaning Dental Implants Prevents Bigger Problems Later
- What’s the Best Daily Routine for Cleaning Implants at Home?
- Which Tools Actually Work Best Around Implants?
- How Do You Clean Different Types of Implant Restorations?
- What Happens During a Professional Implant Maintenance Visit?
- When Should You See Your Dentist About an Implant Problem?
- How Complete Dental Care Supports Long-Term Implant Health
- What the Evidence Actually Supports
- Frequently Asked Questions
- Sources
Why Cleaning Dental Implants Prevents Bigger Problems Later
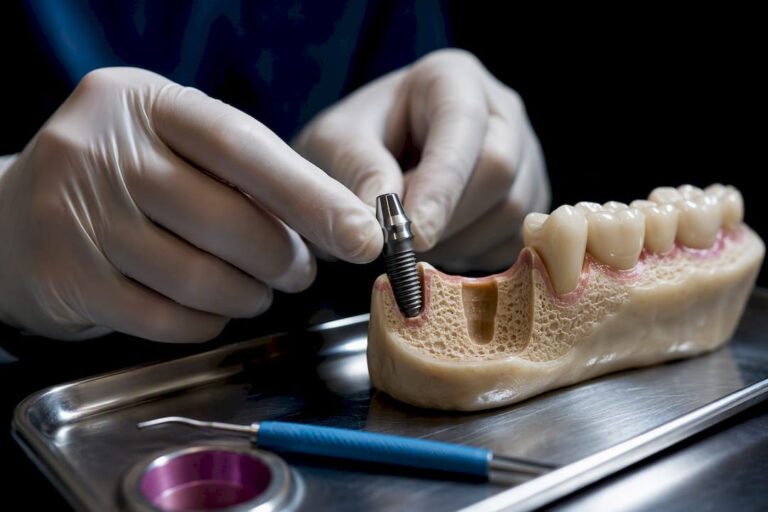
An implant doesn’t get cavities, but the gum and bone around it can still get sick. Bacterial biofilm collects on the implant surface just like it does on enamel, and the tissue response is where things diverge from natural teeth.
Peri-implant mucositis is inflammation limited to the soft tissue around the implant. Gums look puffy or red and bleed easily when brushed. Caught early, it’s reversible with better hygiene and a professional cleaning.
Peri-implantitis is what happens when that inflammation is ignored long enough to reach the bone supporting the implant. Bone loss at that stage doesn’t grow back on its own, and it’s the leading reason implants eventually fail.
Guideline groups back this up directly: clinical practice guidelines call for at-home implant hygiene at least twice a day, paired with lifelong professional supportive care. Patients who fall off that schedule face a meaningfully higher chance of developing peri-implant disease, according to a British Dental Journal review on supportive implant therapy.
Some people need to work harder at this than others. A history of periodontal disease, smoking, poorly controlled diabetes, and limited hand dexterity all raise the maintenance bar. If any of those apply to you, tighter recall intervals and more attentive daily cleaning aren’t optional extras, they’re the baseline.
What’s the Best Daily Routine for Cleaning Implants at Home?
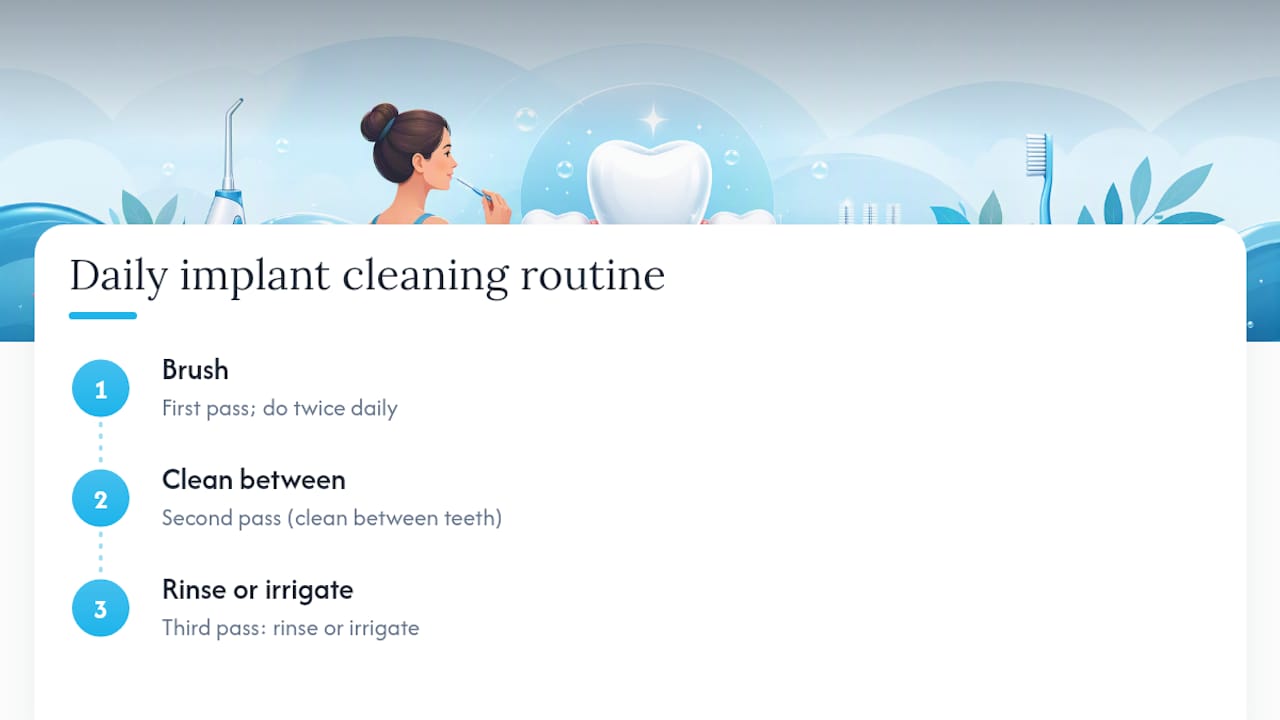
Think of the routine as three passes, done in order, twice a day: brush, clean between, then rinse or irrigate.
Morning and evening brushing
1. Brush first, before anything else. A soft-bristle manual brush works, but an oscillating-rotating powered toothbrush does the job better. A 2025 systematic review found these powered brushes outperform manual brushing for reducing plaque and bleeding specifically around implants, not just natural teeth. Angle the bristles toward the gumline at roughly 45 degrees, use light pressure (let the brush do the work, don’t scrub), and spend a full two minutes covering every surface, including the back of your last molar or implant crown.
Interdental cleaning
2. Clean between implants and teeth next. This is where most people cut corners, and it’s the step that matters most for preventing gum inflammation. An interproximal brush, essentially a tiny bottle-brush on a handle, is the preferred tool when the gap between teeth or implants is large enough to fit one. Interdental brushes come in graduated sizes; if the bristles bend or won’t slide in without force, go down a size rather than forcing a bigger one through. If your gaps are tight, traditional floss or a floss threader designed for bridges can substitute, though the same 2025 review found interdental brushes and water flossers reduce inflammatory markers more consistently than floss alone.
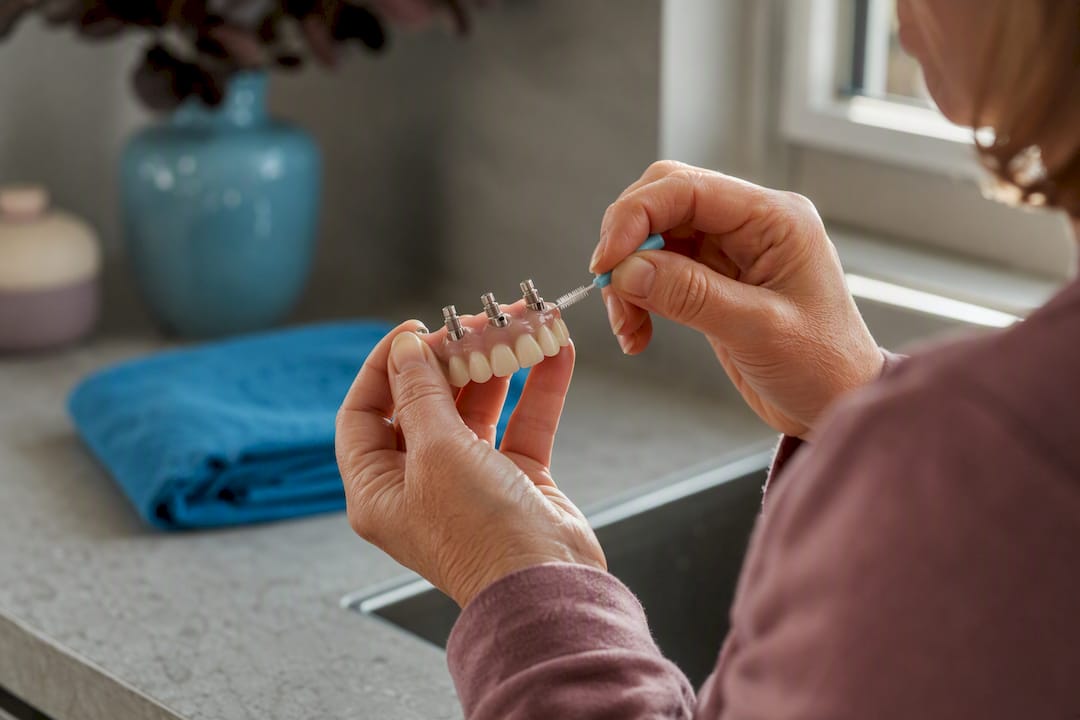
3. Irrigate or rinse last. A water flosser flushes out debris the brush and interdental aid missed, especially useful for full-arch restorations and bridges where food traps under pontics. Start on the lowest pressure setting and work up; blasting a healing or sensitive site on high pressure can cause discomfort with no added benefit. Aim the tip at the gumline at a 90-degree angle and let it sweep along each implant rather than holding it in one spot.
Pro Tip: Do your water flosser pass over the sink with the water off first, just to get the aiming angle right. It takes thirty seconds and saves you from soaking your shirt on day one.
Rinses are the optional fourth layer, and here’s where people often overdo it. Chlorhexidine mouthwash is genuinely useful right after implant placement or a deep cleaning, but long-term daily use isn’t harmless. The same Frontiers review found extended chlorhexidine use may actually raise certain inflammatory markers around implants over time, while stannous-fluoride rinses showed more promise for calming peri-implant tissue without that tradeoff. Use chlorhexidine only for the window your dentist recommends, not indefinitely, and ask about a stannous-fluoride alternative if you want a daily rinse habit.
The sequence, in short:
- Brush for two minutes, morning and night, with a soft or powered brush
- Clean between implants once daily with an interproximal brush or floss
- Finish with a water flosser pass, and a rinse only when your dentist has specifically recommended one
Which Tools Actually Work Best Around Implants?
Not every toothbrush, floss, or rinse on the drugstore shelf performs equally well around implant surfaces, and the evidence gap between options is bigger than most people assume.
The clearest finding from recent research is that oscillating-rotating powered toothbrushes beat manual brushing for plaque and bleeding reduction specifically at implant sites. If you’re deciding between a manual and powered brush, this is the one place the evidence tips firmly in one direction.
For interdental cleaning, the ranking looks like this:
- Interproximal brushes win for open embrasures and larger gaps, and they reduce inflammation more reliably than string floss.
- Water flossers perform comparably well and are often easier for people with limited dexterity or hardware like bars and bridges.
- Traditional floss still has a place, mainly for tight natural-tooth contacts, but it’s the weakest performer of the three for implant-specific inflammation control.
On toothpaste, skip anything labeled “whitening” or “smokers” formula around implants. Those are typically more abrasive, and repeated scratching on implant restorations creates microscopic grooves where biofilm hides. A low-abrasive toothpaste is the safer daily default. Triclosan-containing formulas showed some benefit in earlier research, though availability and regulatory status vary, so this isn’t a must-have.
Never use a metal scaler or curette on an implant at home. Metal instruments scratch the implant surface and titanium abutment, and those scratches become permanent plaque traps. The same caution applies to stainless-steel ultrasonic tips in a clinical setting. Glycine powder air polishing, a professional-only method, is the preferred way to deep-clean implant surfaces without damaging them, and it’s not something to attempt yourself at home.
How Do You Clean Different Types of Implant Restorations?
A single implant crown, a three-unit bridge, and a full-arch fixed restoration each demand slightly different technique, mostly around access.
Single-tooth implants behave like a natural tooth for cleaning purposes. Brush normally, then use an interproximal brush sized to the gap on either side. This is usually the easiest restoration type to maintain.
Implant-supported bridges hide plaque under the pontic, the false tooth suspended between two implant crowns. A floss threader or a super floss with a stiffened end helps guide cleaning material underneath, and a narrow interproximal brush can often reach where floss can’t.
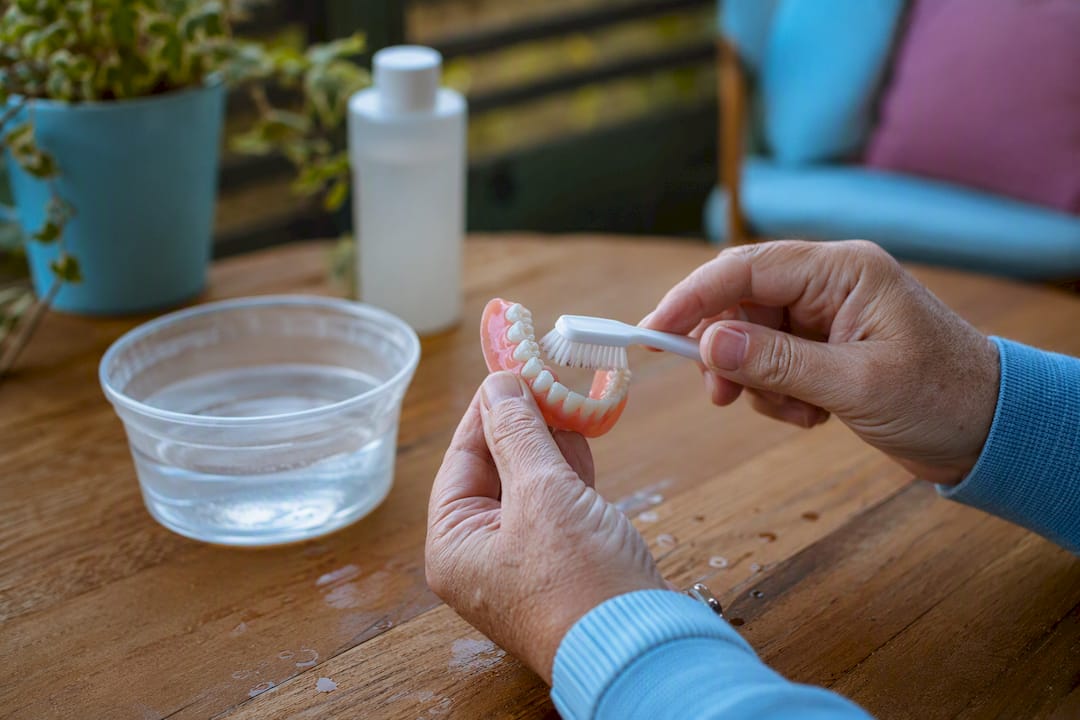
Removable overdentures should come out every night, no exceptions. Clean the prosthesis extraorally with a denture brush and a non-abrasive cleanser, soak it according to your dentist’s specific guidance, and separately brush the attachment points and gum tissue in your mouth before sleeping.
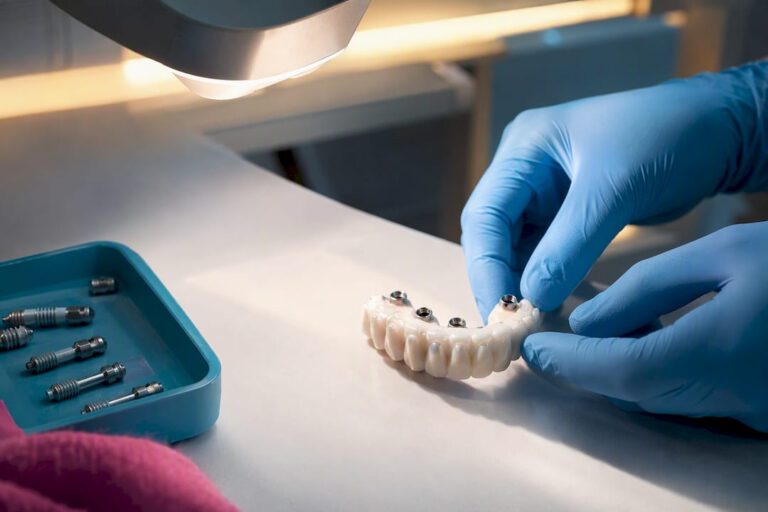
Full-arch fixed restorations, including “Teeth in a Day” style prosthetics, have the trickiest emergence profile, the curve where the gum meets the restoration. Use narrow interdental brushes and floss threaders daily, and lean on a water flosser to reach spots brushes can’t. The American College of Prosthodontists advises against routinely removing a screw-retained full-arch prosthesis for cleaning; that’s a clinician’s call, not a home project.
What Happens During a Professional Implant Maintenance Visit?
Home care handles most of the daily workload, but it can’t reach everything, and it can’t replace what a hygienist does with the right instruments.
Professional cleanings around implants use tools chosen specifically to avoid scratching the implant surface:
- Glycine powder air polishing, which cleans effectively without abrading titanium or zirconia
- Plastic-coated ultrasonic tips instead of metal ones
- Low-abrasive polishing paste in a rubber cup for final polishing
Recall timing isn’t one-size-fits-all. Guidelines call for individualized intervals, but higher-risk patients, meaning anyone with a periodontal history, smoking habit, diabetes, or dexterity limitations, commonly need visits every two to six months rather than the standard six-month cycle. Baseline probing depths and radiographs taken shortly after your restoration is placed give your dentist a reference point to catch bone changes early, a practice the British Dental Journal review flags as essential for long-term monitoring.
Skipping these visits carries real weight. Patients who go without regular supportive care face a substantially higher rate of peri-implantitis than those who stay on schedule, which is exactly the outcome the whole home routine is built to avoid.
When Should You See Your Dentist About an Implant Problem?
Most day-to-day irritation around an implant responds to better hygiene. Some symptoms don’t, and treating them as a “brush harder and wait” problem can cost you the implant.
Watch for these red flags:
- Bleeding when brushing that continues for more than a few days
- Any sense of looseness or movement in the crown or the implant itself
- Pus or a bad taste coming from the gum line
- Pain that persists rather than fading within 24 to 48 hours
A warm saline rinse and gentler, more consistent brushing can help with mild, short-term irritation. What you should never do is reach for a metal pick to scrape at the area yourself, use bleach or acidic rinses to “disinfect” it, or scrub aggressively hoping to force the inflammation away. All three make things worse.
Call your dentist as soon as any red flag shows up. Mucositis caught early is reversible; bone loss from untreated peri-implantitis is not, and the gap between those two outcomes is often just a matter of a few weeks of delay.
How Complete Dental Care Supports Long-Term Implant Health
Complete Dental Care builds implant maintenance around the same principle that runs through the guidelines above: individualized care beats a generic checklist. Every full-arch and single-implant patient gets a baseline record using 3D imaging and digital scanning, which gives our team a real reference point for tracking bone and tissue changes at each recall visit, not a guess.
From there, recall frequency gets set to match actual risk, not a default six-month calendar slot. A patient with a smoking history or prior gum disease may see us every few months; a lower-risk patient may not.
- Baseline probing and imaging taken shortly after your Teeth in a Day restoration or single implant is placed
- Maintenance visits using implant-safe instruments, not generic scaling tools
- Individualized recall scheduling based on your specific risk factors
If you’re unsure whether your current home routine matches what your specific restoration needs, that’s a conversation worth having at your next visit rather than guessing.
Cleaning dental implants well is mostly a discipline problem, not a knowledge problem: the twice-daily brush, the daily interdental pass, and the professional visits you don’t skip are what keep a healthy implant healthy for years. If it’s time for your next maintenance visit or you want your current routine checked against your specific restoration, schedule a visit with Complete Dental Care and bring your questions with you.
What the Evidence Actually Supports
The research doesn’t support the idea that implants need some exotic cleaning regimen. It supports the opposite: the basics, done consistently, outperform anything fancy. A powered toothbrush beats a manual one by a measurable margin, an interdental brush beats floss for inflammation control, and skipping professional visits is riskier than most patients assume.
Where conventional advice falls short is the rinse conversation. Chlorhexidine gets handed out like it’s harmless maintenance, when the evidence says it’s a short-term tool that can backfire with prolonged use. Nobody tells patients that part.
If you take one thing from this, prioritize the interdental step. Brushing alone misses the exact spots where peri-implant disease starts. Get that habit locked in before worrying about which premium gadget to buy next.
Frequently Asked Questions
Is a Waterpik safe for implants?
Yes. Oral irrigators, including Waterpik-brand devices, are considered safe and effective for implants when used on a low to moderate pressure setting aimed along the gumline rather than directly into the gum tissue.
How often should I use a water flosser for implants?
Once daily is sufficient for most people, typically as the last step after brushing and interdental cleaning, though your dentist may recommend twice daily if you have a bridge or full-arch restoration with harder-to-reach spots.
What is the best toothbrush for implants?
An oscillating-rotating powered toothbrush has the strongest evidence behind it for reducing plaque and bleeding around implants, though a soft-bristle manual brush used correctly is a reasonable alternative.
Can I use regular floss around my dental implants?
Regular floss works for natural teeth adjacent to an implant, but interproximal brushes and water flossers perform better specifically at implant sites and are generally the preferred first choice.
How do I know if my implant is developing peri-implantitis?
Watch for gum bleeding that doesn’t improve with better hygiene, any looseness in the restoration, pus, or persistent pain. Any of these warrants a prompt dental visit rather than waiting to see if it resolves.
This article is general information, not a substitute for advice from a qualified doctor. Consult a qualified healthcare professional about your own circumstances before acting on anything here.
Sources
- Clinical practice guidelines for recall and maintenance of patients with tooth-borne and implant-borne dental restorations
- Best oral self-care practices for peri-implant conditions and diseases: a systematic review (Frontiers, 2025)
- Position Statement: Maintenance of Full-Arch Implant Restorations — American College of Prosthodontists
- Supportive care and maintenance of dental implants (British Dental Journal, 2024)